树莓派4B 新设备折腾记
树莓派4B 新设备折腾记
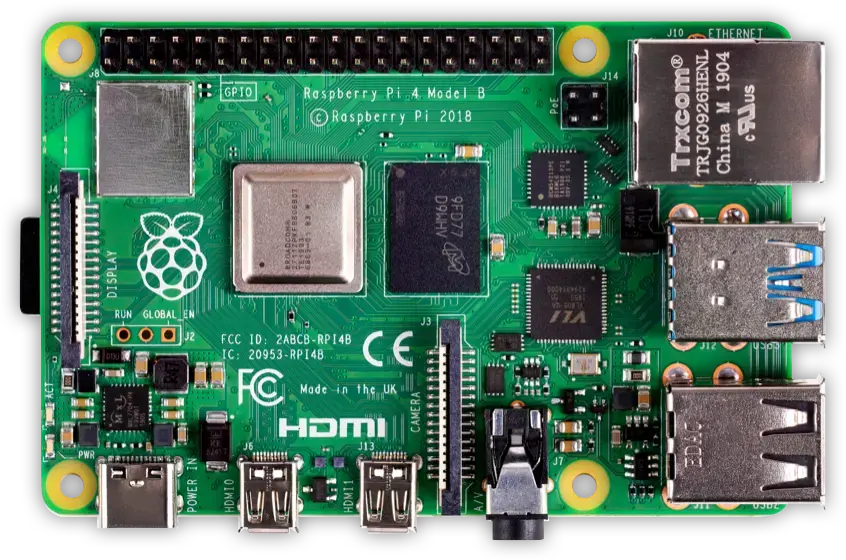
Neosey最近入手了一块树莓派4 2GB的板子开始折腾,不得不说,真香!!!
树莓派4 参数
Specifications
- Broadcom BCM2711, Quad core Cortex-A72 (ARM v8) 64-bit SoC @ 1.5GHz
- 2GB, 4GB or 8GB LPDDR4-3200 SDRAM (depending on model)
- 2.4 GHz and 5.0 GHz IEEE 802.11ac wireless, Bluetooth 5.0, BLE
- Gigabit Ethernet
- 2 USB 3.0 ports; 2 USB 2.0 ports.
- Raspberry Pi standard 40 pin GPIO header (fully backwards compatible with previous boards)
- 2 × micro-HDMI ports (up to 4kp60 supported)
- 2-lane MIPI DSI display port
- 2-lane MIPI CSI camera port
- 4-pole stereo audio and composite video port
- H.265 (4kp60 decode), H264 (1080p60 decode, 1080p30 encode)
- OpenGL ES 3.0 graphics
- Micro-SD card slot for loading operating system and data storage
- 5V DC via USB-C connector (minimum 3A)
- 5V DC via GPIO header (minimum 3A)
- Power over Ethernet (PoE) enabled (requires separate PoE HAT)
- Operating temperature: 0 – 50 degrees C ambient
对比树莓派3 性能可谓提升巨大
树莓派系统安装
下载树莓派系统
- Raspberry Pi OS Raspbian 官方系统 Download Raspberry Pi OS
- Ubuntu Download Ubuntu for Raspberry Pi
此出仅列出个人推荐的系统,更多系统,请访问 Download Raspberrypi System
烧录系统到内存卡
系统下载完成后,需要烧录系统到内存卡,此处推荐烧录软件为 balenaEtcher Download balenaEtcher
当然你也可以使用树莓派官方烧录工具 Raspberry Pi Imager Download Raspberry Pi Imager
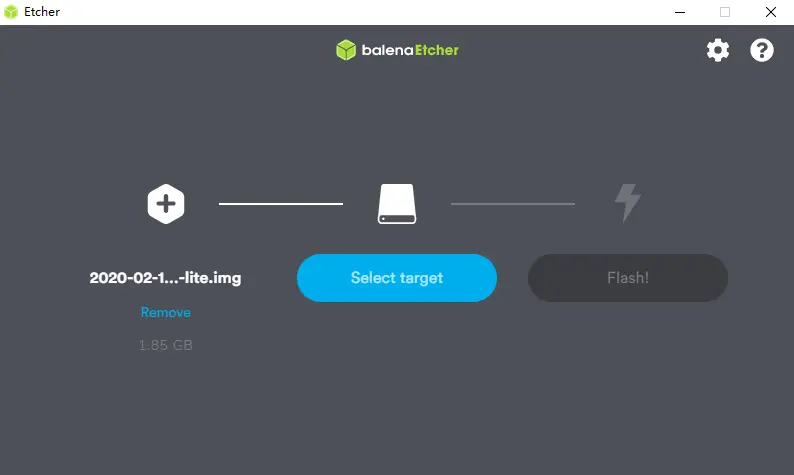
此处以 balenaEtcher 、Raspberry Pi OS (32-bit) Lite 为例- 点击 Flash form file 从下载盘中选择下载的镜像文件 2020-02-13-raspbian-buster-lite.zip 请留意镜像文件名称可能不一样

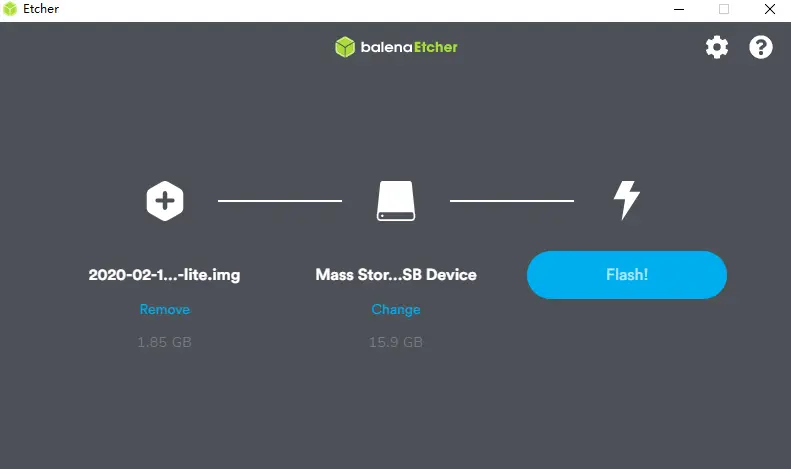
- 点击 Select target 选择烧录存储卡,选择好后,点击 Flash
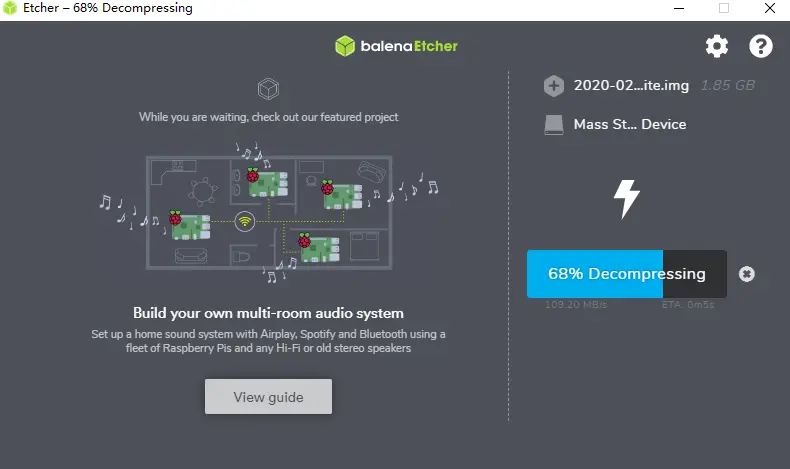
- 此时便开始烧录镜像文件
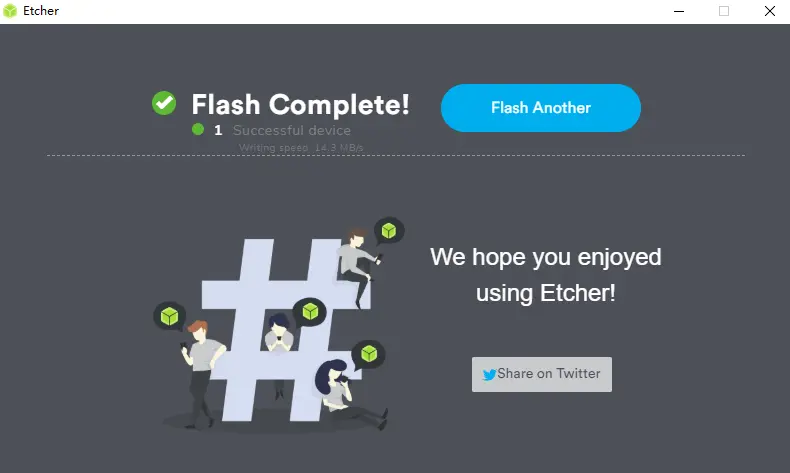
- 当出现该界面,此时镜像便烧录完成,并已自动弹出内存卡
此时便可以插入内存卡到树莓派上,开始使用。
- 点击 Flash form file 从下载盘中选择下载的镜像文件 2020-02-13-raspbian-buster-lite.zip 请留意镜像文件名称可能不一样
无屏幕开启 SSH 和 WIFI
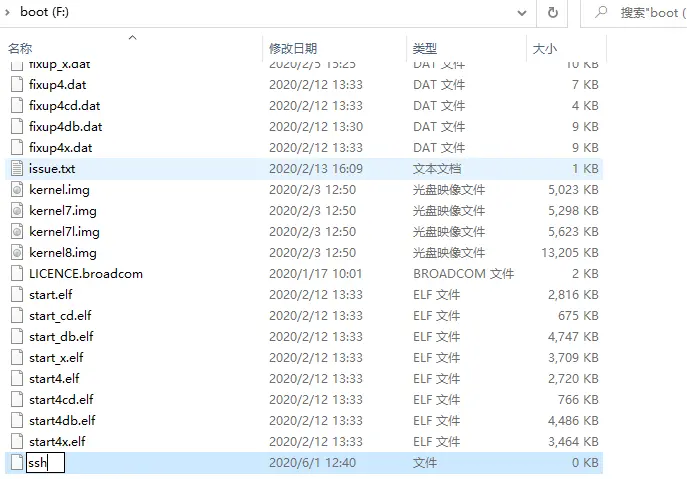
将内存卡重新连接至电脑上,会在文件管理器中出现一个以 boot 命名的文件夹,进入- 开启 SSH 功能
在 boot 文件夹中,新建一个以 ssh命名的 无后缀空白文件 - 开启 WIFI 功能
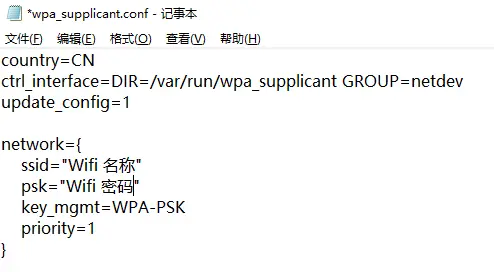
在 boot 文件夹中,新建一个以 wpa_supplicant.conf 命名的文件,注意后缀为 .conf,复制以下内容到该文件中,留意更改Wifi名称及WiFi密码1
2
3
4
5
6
7
8
9country=CN
ctrl_interface=DIR=/var/run/wpa_supplicant GROUP=netdev
update_config=1
network={
ssid="Wifi 名称"
psk="Wifi 密码"
key_mgmt=WPA-PSK
priority=1
}此时便可以插入内存卡到树莓派上,开始使用。
- 开启 SSH 功能
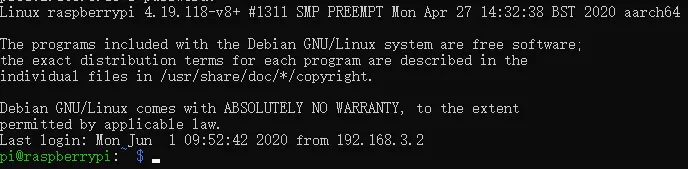
使用 SSH 连接至树莓派
- 在路由器界面中,找到树莓派连接的IP信息,或者在同一局域网中,在 CMD 中执行 arp -a 获取到IP地址
- 使用 SSH 工具连接到树莓派,默认用户名 pi 默认密码 raspberry
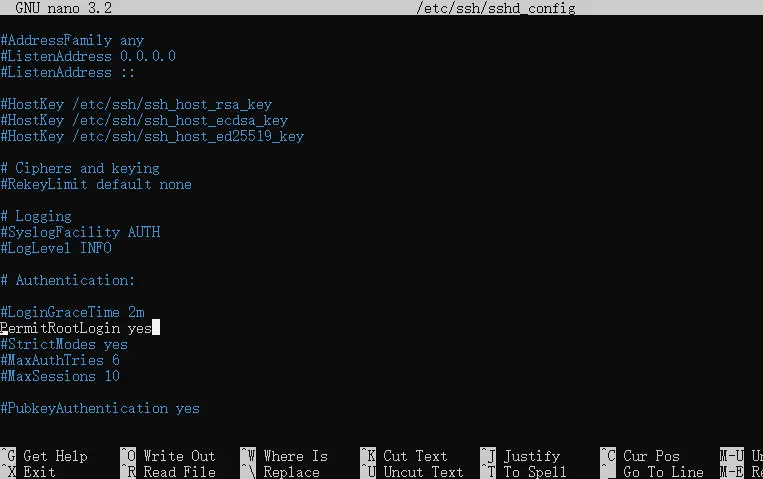
设置 root 密码并开启 root 登录功能
1
2
3
4
5
6
7# 设置 root 密码
sudo passwd root
# 开启 root 登录功能
sudo nano /etc/ssh/sshd_config
# Ctrl+W 快捷键,搜索 PermitRootLogin without-password ,修改 PermitRootLogin without-password 为 PermitRootLogin yes ,Ctrl+O 快捷键,保存。再按一次回车,然后 Ctrl+X 快捷键退出。
# 重启树莓派
sudo reboot更换树莓派镜像源为中科大 清华
1
2
3
4
5
6
7
8# 更改 sources.list 为 中科大USTC 镜像源
sudo sed -i 's|raspbian.raspberrypi.org|mirrors.ustc.edu.cn/raspbian|g' /etc/apt/sources.list
# 更改 raspi.list 为 清华TUNA 镜像源
sudo sed -i 's|archive.raspberrypi.org/debian|mirrors.tuna.tsinghua.edu.cn/raspberrypi|g' /etc/apt/sources.list.d/raspi.list
# 执行更新检查
sudo apt update
# 执行更新已安装的软件包
sudo apt upgradeRaspberry Pi OS 开启 64bit 支持 假如有需求
1
2
3
4
5
6
7
8
9# 启用64位内核
sudo nano /boot/config.txt
# 在最后加上:
arm_64bit=1
# 按ctrl+x,然后再按y保存退出并重启树莓派
sudo reboot
# 验证
uname -m
# aarch64